I remember the day vividly when I first encountered the need to set password protection for my Excel workbook. I had been working on a crucial project for several weeks, meticulously gathering data, analyzing trends, and creating detailed charts. The workbook had grown into a comprehensive repository of sensitive information. I had always been meticulous about data security, but it never dawned on me to password-protect my Excel file until an unexpected incident.
It all started one afternoon when I was working in a crowded coffee shop. I had my laptop open, and I was deeply engrossed in refining some of the final charts for my project. I had left my table momentarily to grab a refill of coffee. When I returned, I noticed a curious bystander peeking at my screen. It was a fleeting glance, but it was enough to make me uneasy. The thought of someone potentially accessing my confidential data made my heart race. I realized that I needed to take immediate action to secure my work.
The prospect of setting a password seemed straightforward, but I wasn’t entirely sure where to start. I decided to dive into the options available in Excel to ensure my data was protected. Here’s how I tackled the problem and set up password protection for my workbook.
First, I opened the Excel workbook that I wanted to protect. The document was still in its final stages, so I was careful to review everything before securing it. Once I was satisfied with the content, I proceeded to the next step. I navigated to the “File” tab in the upper-left corner of the Excel interface. This is where the file management options are housed, including the settings for saving and securing the workbook.
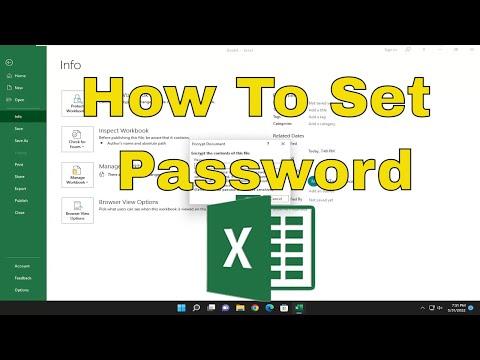
In the File menu, I selected “Info” from the sidebar. This section provided me with various options related to the workbook’s properties. I spotted a button labeled “Protect Workbook.” Clicking on it revealed a dropdown menu with several choices, including “Encrypt with Password.” This was precisely what I needed.
I clicked on “Encrypt with Password,” and a new window popped up, prompting me to enter a password. The text field was empty, and this was where I needed to choose a strong, memorable password. I carefully typed in a combination of letters, numbers, and special characters. After entering the password, I was prompted to confirm it by retyping it in a second field. This step ensured that I hadn’t made a typo and that the password was correctly set.
Once I had entered and confirmed the password, I clicked “OK.” Excel immediately encrypted the workbook with the password I provided. To ensure that the protection was applied correctly, I saved the workbook and closed it. When I reopened the file, I was greeted with a password prompt. This was reassuring; it meant that the protection was in place, and my data was now secure.
One aspect I kept in mind was to choose a password that was strong but also something I could remember. While it’s essential to create a secure password, it’s equally important not to forget it. I made sure to store the password in a safe place, separate from my computer, to avoid any future issues.
As a final precaution, I decided to back up the password-protected workbook in a secure location. I copied the file to an external hard drive and also stored it in a cloud-based storage service that offered additional security features. This redundancy ensured that even if my primary storage was compromised, my data would remain safe.
In retrospect, setting password protection for my Excel workbook turned out to be a crucial step in securing my data. It provided peace of mind knowing that my sensitive information was safeguarded from unauthorized access. The process was relatively simple and straightforward, and it only took a few minutes to implement. It was a small investment of time that paid off significantly in terms of security.
I also realized the importance of incorporating password protection as a standard practice for future projects. It’s easy to overlook data security, especially when working on something familiar and routine. However, incidents like the one I experienced serve as a reminder of the importance of taking proactive steps to protect sensitive information.
In summary, setting up password protection for an Excel workbook is a valuable skill that can prevent unauthorized access to your data. The process involves navigating to the “Protect Workbook” option in the “File” menu, selecting “Encrypt with Password,” and entering a strong password. Remembering to store your password securely and backing up your protected workbook adds an extra layer of security. By following these steps, you can ensure that your important data remains safe and secure, even in the face of unexpected situations.