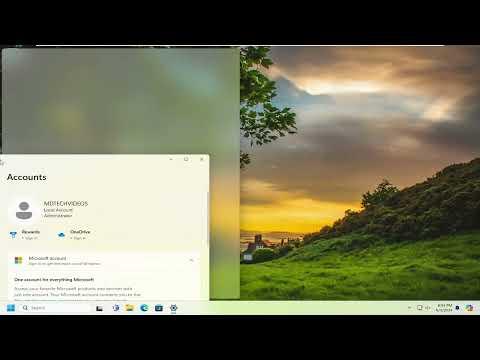
I recently encountered a frustrating issue while working on my Windows 11 computer. My screen felt too cluttered, and managing multiple windows became increasingly difficult. I needed to organize my workspace efficiently, so I decided to explore how to split the screen and use the Snap Windows feature effectively. Here’s how I tackled the problem and streamlined my multitasking.
It all started when I was juggling between a research document, a spreadsheet, and a browser with multiple tabs. I found myself constantly resizing and moving windows around, which not only wasted time but also made it hard to focus on any one task. I knew there had to be a better way to manage my workspace, so I dug into the features offered by Windows 11 to find a solution.
The first step was to understand the Snap Windows feature, which is designed to make window management easier. This feature allows you to snap windows into predefined areas of the screen, automatically resizing and arranging them. To activate Snap Windows, I needed to ensure that the feature was enabled in my system settings.
To begin, I went to the Settings app by pressing Win + I. In the Settings menu, I selected System and then Multitasking. Here, I found the Snap Windows section, where I made sure that the option was turned on. This was crucial for accessing the various snapping features available.
Once Snap Windows was enabled, I started experimenting with different ways to use it. The most basic method involves dragging a window to the edge of the screen. For instance, if I wanted to snap a window to the left side of the screen, I simply dragged it to the left edge until it snapped into place, filling exactly half of the screen. This allowed me to easily view and work with another window on the right side simultaneously.
Windows 11 also offers a more advanced snapping layout feature. By hovering over the maximize button in the top-right corner of a window, a small preview of different layout options appeared. This feature allows you to split the screen into various configurations, such as two side-by-side windows or a grid with multiple sections. I found this particularly useful when I needed to organize three or more windows at once.
Additionally, I learned about keyboard shortcuts that could further enhance my efficiency. For instance, pressing Win + Left Arrow snapped the active window to the left half of the screen, while Win + Right Arrow did the same for the right half. To snap a window to a corner, I could use Win + Up Arrow or Win + Down Arrow in combination with the left or right arrow keys. These shortcuts significantly sped up the process of arranging windows, especially during intensive multitasking sessions.
Another useful feature was the ability to customize the snapping layout. By going back to the Settings app and selecting Snap Layouts, I could adjust the available snapping options to better suit my workflow. This included enabling or disabling specific layouts and modifying how windows were arranged within those layouts. Customizing these settings helped me create a more tailored workspace that matched my needs.
One challenge I faced was dealing with applications that didn’t always behave well with snapping. Some programs didn’t align properly or would get stuck when I tried to snap them into place. To resolve this, I often had to manually adjust the window size or use the maximize button to fit it into the desired area. It was a bit of a workaround, but it ensured that I could still use the Snap Windows feature effectively.
As I continued to explore Snap Windows, I also discovered the feature’s integration with virtual desktops. By creating multiple virtual desktops, I could organize different tasks or projects into separate spaces. Each virtual desktop had its own set of snapped windows, which helped me keep related tasks grouped together and easily switch between different workflows.
Overall, mastering the Snap Windows feature in Windows 11 transformed my productivity. It allowed me to manage multiple windows effortlessly, customize my workspace, and utilize keyboard shortcuts for faster window arrangement. Although I encountered some minor challenges along the way, the benefits of using Snap Windows far outweighed any inconveniences. My once cluttered screen was now organized, making it easier to focus on my work and navigate through various tasks with ease.
In summary, Windows 11’s Snap Windows feature proved to be an invaluable tool for optimizing my workspace. By enabling the feature, experimenting with different snapping methods, and utilizing keyboard shortcuts, I was able to significantly enhance my multitasking capabilities. Customizing the snapping layout and integrating virtual desktops further contributed to a more efficient and organized work environment. If you’re struggling with managing multiple windows on your screen, I highly recommend exploring these features to see how they can improve your productivity and streamline your workflow.
