I recently found myself grappling with the challenge of multitasking efficiently on my Windows 11 PC. The situation unfolded one morning when I was knee-deep in work, with multiple documents, emails, and research tabs open. The struggle was real: I needed to view two or more windows simultaneously, but toggling between them felt cumbersome and disrupted my workflow. Frustrated, I realized I needed a better way to manage my screen space. That’s when I decided to delve into the features of Windows 11 to find an ultimate solution for this problem.
To address the issue, I first needed to familiarize myself with Windows 11’s built-in features for managing multiple windows. Windows 11 offers a streamlined approach to multitasking, and the solution lay in its Snap Layouts and Snap Groups features. Here’s how I tackled the problem step-by-step.
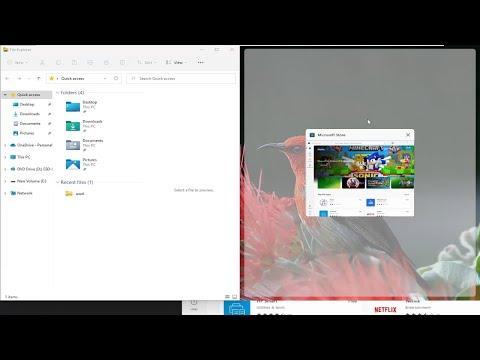
Firstly, I opened the windows I needed to work with. This could be any combination of applications, such as a web browser, a text editor, or a file explorer. With all the relevant windows open, I focused on the first window I wanted to snap into place. Windows 11 allows you to easily position windows by using Snap Layouts, which is a feature I had to learn to fully utilize.
To activate Snap Layouts, I hovered over the maximize button (the square icon) in the top-right corner of the window. This action revealed several layout options. These options are designed to help you organize your workspace efficiently. I chose the layout that best suited my needs, such as splitting the screen into two equal halves, or a more complex arrangement with three or four sections. Selecting a layout caused the window to snap into place, automatically adjusting its size and position according to the chosen configuration.
Next, I needed to position the other windows. Once the first window was snapped into one side of the screen, I was prompted to choose another window to fill the remaining space. Windows 11 presented a visual guide to assist with this selection, making it straightforward to choose where each window would go. If I needed more control over the layout, I used the keyboard shortcuts. Pressing Win + Left Arrow or Win + Right Arrow allowed me to snap the active window to the left or right side of the screen, respectively. This feature made it easier to manage windows without relying solely on mouse clicks.
Another useful feature I discovered was Snap Groups. This function allows you to group snapped windows together so you can easily return to that specific layout later. After arranging my windows to my satisfaction, I saved this configuration by hovering over the Taskbar to reveal the Snap Group associated with the current layout. This was especially helpful for recurring tasks where I needed the same set of windows arranged in a particular way.
For those who prefer more manual control, I also explored the option of resizing and repositioning windows manually. By dragging the edges of each window, I could adjust their size and placement precisely to fit my needs. While this method offered greater flexibility, it required more time compared to using Snap Layouts.
The final touch was ensuring that my workspace remained organized. I took advantage of virtual desktops, another feature in Windows 11, to manage different tasks or projects separately. By pressing Win + Tab, I accessed the Task View, where I could create and switch between multiple virtual desktops. This allowed me to maintain a clean and organized workspace, reducing clutter and making it easier to focus on specific tasks.
In conclusion, by delving into the Snap Layouts, Snap Groups, and virtual desktops features of Windows 11, I was able to solve the issue of managing multiple windows effectively. This newfound knowledge not only streamlined my workflow but also significantly enhanced my productivity. Windows 11’s intuitive design and powerful multitasking features made it possible to achieve a more organized and efficient workspace, ultimately resolving the challenges I faced.