I recently found myself in a bit of a frustrating situation while working on a project that required taking screenshots on my Windows 11 computer. I had always used simple tools for capturing images on my previous versions of Windows, but Windows 11 introduced a few changes that I wasn’t entirely familiar with. It was one of those moments when you’re knee-deep in a task and suddenly need to capture something important, only to realize that the method you used before doesn’t seem to work the same way.
Initially, I tried the old standby of pressing the “PrtScn” (Print Screen) button on my keyboard, hoping it would still copy the screenshot to my clipboard as it had in the past. To my surprise, it didn’t seem to work as expected. I panicked slightly, thinking I might have missed something or perhaps my keyboard was malfunctioning. But then, I remembered that Windows 11 might have introduced new ways to handle screenshots, and it was time to delve into the updated methods available.
First, I discovered the “Snipping Tool,” which was already somewhat familiar to me from Windows 10. I opened it by searching for “Snipping Tool” in the Start menu. This handy utility allowed me to select the type of screenshot I wanted: full-screen, window, rectangular, or free-form. Once I made my selection, I could easily capture the screenshot and annotate it if necessary. The tool even automatically saved the screenshot to my clipboard, so I could paste it directly into documents or other applications.
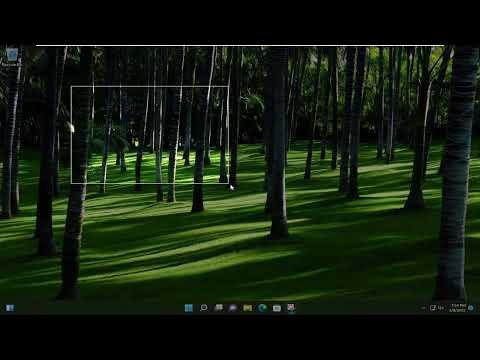
Next, I explored the “Snip & Sketch” app, which was introduced in Windows 10 but continued into Windows 11. I accessed it by pressing the “Windows + Shift + S” keyboard shortcut. This command triggered a small overlay at the top of the screen with various options for taking screenshots. I could choose between rectangular snip, free-form snip, window snip, or full-screen snip. The captured image would then be copied to the clipboard, and a notification would pop up allowing me to click it to open the image in the Snip & Sketch app for further editing.
Another method I found particularly useful was using the “Print Screen” key combined with other shortcuts. Pressing “Windows + PrtScn” saved a full-screen screenshot directly to the Pictures folder in a subfolder named “Screenshots.” This approach was great when I needed a quick and straightforward way to capture and store images without additional steps.
For more advanced needs, I explored the Xbox Game Bar. Although initially designed for gamers, it turned out to be an excellent tool for capturing screenshots. By pressing “Windows + G,” I opened the Game Bar, and from there, I could use the camera icon or the shortcut “Windows + Alt + PrtScn” to capture screenshots. The Game Bar also allowed me to record videos and access various performance metrics, but for capturing still images, it was incredibly efficient.
In my search for solutions, I also encountered third-party screenshot tools, but I preferred sticking with the built-in options provided by Windows 11. They were more than adequate for my needs and integrated seamlessly with the system, ensuring a smoother workflow without the hassle of installing additional software.
Ultimately, navigating these new screenshot methods on Windows 11 became a learning experience that initially seemed daunting but turned out to be straightforward once I became familiar with the available tools. With these methods at my disposal, capturing and managing screenshots became a more streamlined part of my daily tasks. The key was to explore the new options and adapt to the updated features, which in turn made my experience with Windows 11 much more manageable and efficient.
