When I first heard about DNS over HTTPS (DoH), I was intrigued by the promise of enhanced privacy and security it offered. The concept seemed straightforward: encrypting DNS queries would protect my browsing activity from prying eyes and potential threats. However, as someone who isn’t particularly tech-savvy, I felt a bit overwhelmed by the idea of implementing this feature on my Windows 11 machine. The complexity of the task made me hesitate, but my curiosity and the desire for improved privacy eventually pushed me to take the plunge.
I began by researching DNS over HTTPS and its benefits. The more I read, the more I understood why it was worth the effort. Essentially, DoH encrypts the data exchanged between my device and DNS servers, making it much harder for anyone—be it hackers, internet service providers, or other entities—to monitor or interfere with my browsing activity. With online privacy being a significant concern, especially given the number of cyber threats nowadays, the potential advantages of using DoH were compelling.
The first step was to check whether my current DNS provider supported DNS over HTTPS. I knew that not all DNS servers were equipped to handle encrypted queries. After a bit of searching, I found a list of popular DNS providers that supported DoH, including Cloudflare, Google, and OpenDNS. For the sake of this tutorial, I decided to use Cloudflare’s DNS service because of its reputation for speed and privacy.
Next, I had to configure Windows 11 to use DNS over HTTPS. The process was somewhat different from what I had anticipated. Initially, I thought it would involve downloading and installing third-party software, but it turned out that Windows 11 had built-in support for DoH, which made the task simpler than I had imagined.
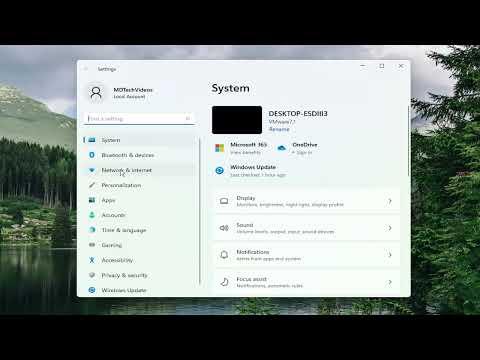
I began by opening the Settings app on my computer. I clicked on the “Network & Internet” section and then navigated to “Advanced network settings.” From there, I selected “More network adapter options,” which took me to the Network Connections window. Here, I saw a list of my network adapters, including my Wi-Fi and Ethernet connections.
I right-clicked on the network adapter that I was using (for instance, my Wi-Fi connection) and selected “Properties.” In the Properties window, I scrolled down to the list of items used by the connection and found “Internet Protocol Version 4 (TCP/IPv4).” I highlighted it and clicked on “Properties.”
In the TCP/IPv4 Properties window, I chose the option “Use the following DNS server addresses.” Here, I entered Cloudflare’s DNS addresses: for the Preferred DNS server, I used 1.1.1.1, and for the Alternate DNS server, I used 1.0.0.1. After entering these addresses, I clicked “OK” to save the changes.
The next step was to configure DNS over HTTPS within Windows 11. I returned to the “Network & Internet” section in the Settings app and clicked on “Properties” under my network connection. I then selected “Edit” under the DNS server assignment section. Here, I was given the option to configure DNS settings automatically or manually. I chose “Manual” and turned on the IPv4 switch.
In the field for DNS, I entered Cloudflare’s DNS over HTTPS address. Windows 11 allowed me to specify a custom DNS resolver, and I input the address that enabled DoH. After entering the information, I clicked “Save” to apply the new settings.
To ensure everything was working correctly, I performed a quick test. I visited a website that provides DNS leak test services to verify whether my DNS queries were being encrypted. The results confirmed that my DNS requests were now routed through Cloudflare’s servers and were protected by encryption.
Implementing DNS over HTTPS on Windows 11 turned out to be more manageable than I initially expected. The built-in support for this feature simplified the process significantly, allowing me to enhance my online privacy without needing additional software. I felt a sense of accomplishment knowing that I had taken an important step towards securing my internet connection.
In summary, setting up DNS over HTTPS on Windows 11 involved a few key steps: checking the compatibility of DNS providers, configuring the network adapter settings, and entering the appropriate DNS addresses. By following these steps, I successfully enabled DoH and improved my online privacy. Although the technical aspects seemed daunting at first, the straightforward nature of the built-in Windows 11 tools made the process much more accessible. If you’re looking to bolster your internet privacy, I highly recommend giving DNS over HTTPS a try—it’s a relatively simple yet effective way to safeguard your online activities.
