When I first encountered the challenge of setting up an A3 size document in Microsoft Word, it felt like navigating uncharted territory. I was working on a project for a client who required a detailed brochure, and I was determined to make sure it was perfectly formatted. The brochure needed to be on A3 paper, which is significantly larger than the standard A4 size. My familiarity with Word had been limited to basic document creation, so I had to figure out the specifics of setting up this larger page size. Little did I know, this would involve a series of steps that would test my patience and attention to detail.
Initially, my approach was rather straightforward—I went straight to the Page Layout tab, thinking that I would find an easy option for selecting A3 paper. However, I quickly realized that my options were limited, and there was no straightforward “A3” size available in the dropdown menu. I felt a pang of frustration as I struggled to find a solution. The dropdown menu only displayed the most common sizes like A4 and Letter, and A3 wasn’t listed as an option.
Determined to find a solution, I decided to dig a little deeper. My first step was to access the Page Setup dialog box, which I hoped would offer more customization options. I clicked on the small arrow in the bottom right corner of the Page Layout tab to open the Page Setup dialog. The Page Setup dialog box did provide some additional settings, but there was still no direct option for A3. It was clear that I would need to manually adjust the settings to get the A3 size.
My next step was to manually enter the dimensions for A3 paper. A3 size measures 297 x 420 millimeters or approximately 11.7 x 16.5 inches. With this in mind, I clicked on the “Size” tab within the Page Setup dialog box and then selected “More Paper Sizes” at the bottom of the dropdown menu. This brought up a new dialog box where I could enter custom dimensions.
I carefully input the dimensions for A3 paper. For width, I entered 11.7 inches and for height, I entered 16.5 inches. I double-checked the measurements to ensure accuracy. After entering these values, I clicked “OK” to apply the changes. To my relief, the document’s size adjusted accordingly, and I was now working with an A3 page.
However, the process didn’t end there. As I started designing the brochure, I noticed that the layout was not quite what I had envisioned. Text and images were misaligned, and the margins needed adjustment. This led me to another challenge: configuring the margins for my A3 document.
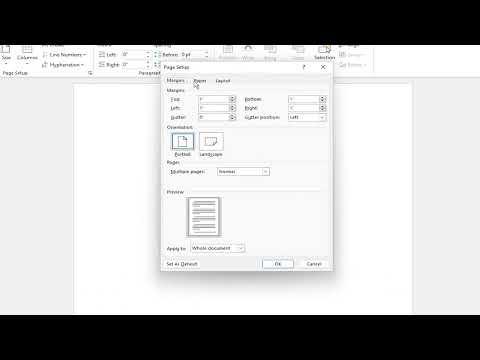
To adjust the margins, I returned to the Page Setup dialog box. This time, I clicked on the “Margins” tab. I chose “Custom Margins” to enter the exact margin sizes I needed for the brochure. After setting the margins to my preferred dimensions, I applied the changes. This step was crucial as it ensured that the content would be properly aligned and visually appealing.
With the page size and margins set, the next challenge was ensuring that my document would print correctly on A3 paper. I had to make sure that my printer was capable of handling A3 size paper. I went into the printer settings and confirmed that it was set to handle larger paper sizes. Additionally, I checked the print preview to ensure that everything was correctly aligned on the A3 page.
As I reviewed the document, I found that the adjustments I had made improved the layout significantly. The content was now positioned correctly, and the overall design of the brochure started to take shape. I was finally on the right track, and the document was looking exactly as I had envisioned.
One final task was to save the document in a format that would be suitable for sharing and printing. I decided to save it as a PDF to preserve the formatting and ensure compatibility across different devices and printers. This was a simple process in Word; I just clicked on “File,” then “Save As,” and chose PDF as the file format. This final step ensured that my client would receive the document exactly as it appeared on my screen.
In retrospect, the process of setting up an A3 size document in Microsoft Word was more involved than I initially anticipated. It required attention to detail and a bit of trial and error. However, overcoming these challenges not only helped me produce a high-quality brochure but also expanded my skills in document formatting. I now feel more confident in handling different page sizes and complex layouts in Word.
Looking back, I can appreciate the learning experience that came from this task. It taught me the importance of understanding and navigating the more advanced features of Microsoft Word. What started as a frustrating problem turned into an opportunity to grow and enhance my proficiency with this powerful tool.