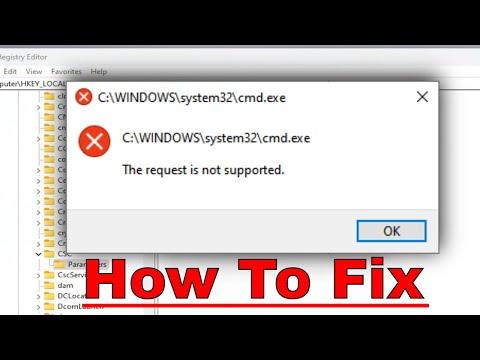
Experiencing the “Request Is Not Supported” error on Windows 11 or 10 can be frustrating. This issue typically arises when you’re trying to perform a task or run an application that your system is unable to handle due to compatibility or configuration problems. After encountering this error myself, I decided to take matters into my own hands and find a solution. Here’s how I resolved the issue, step-by-step.
First, I needed to understand what triggers this error. Generally, it occurs when there’s a problem with the file system, disk configuration, or a system setting that’s not properly aligned with the task at hand. To start troubleshooting, I made sure my Windows system was up-to-date. Often, system updates include fixes for known issues and compatibility improvements that could resolve the problem.
To check for updates, I navigated to the Settings app by pressing the Windows key + I. From there, I selected “Update & Security” and then “Windows Update.” I clicked on “Check for updates” to see if there were any available updates. If there were, I installed them and restarted my computer. After the reboot, I attempted the task again to see if the issue persisted.
Despite updating Windows, the error still appeared. Next, I turned my attention to the drivers. Outdated or corrupt drivers can often cause various errors, including this one. To address this, I opened the Device Manager by right-clicking on the Start button and selecting “Device Manager.” I looked for any devices with a yellow exclamation mark, which indicates a problem. I right-clicked on each problematic device and selected “Update driver” to let Windows search for updated drivers automatically. If the automatic search didn’t yield results, I visited the manufacturer’s website to download and install the latest drivers manually.
Another area I explored was disk integrity. Corrupted system files or a damaged disk could be responsible for the error. To check and repair these issues, I used the built-in Windows tools. I first ran the System File Checker (SFC) tool. To do this, I opened Command Prompt as an administrator by right-clicking the Start button, selecting “Command Prompt (Admin),” and typing “sfc /scannow.” This command scans for and attempts to repair corrupted system files. I waited for the process to complete and followed any instructions provided.
Additionally, I ran the Deployment Imaging Service and Management Tool (DISM) to fix any potential issues with the Windows image. In the same Command Prompt window, I entered the command “DISM /Online /Cleanup-Image /RestoreHealth.” This tool can repair the Windows image and resolve issues that SFC might not be able to fix on its own.
If these steps didn’t resolve the problem, I considered the possibility of software conflicts. Sometimes, third-party applications can interfere with system processes, causing errors. To identify if this was the case, I performed a clean boot. I accessed the System Configuration utility by typing “msconfig” into the Run dialog (Windows key + R) and pressing Enter. In the “Services” tab, I checked the box for “Hide all Microsoft services” and then clicked “Disable all” to disable non-Microsoft services. I also navigated to the “Startup” tab and opened Task Manager to disable startup items. After applying these changes and restarting my computer, I tested to see if the error still occurred. If the issue was resolved, I enabled services and startup items one by one to identify the culprit.
Furthermore, I explored the possibility of file system issues. I ran the Check Disk utility by opening Command Prompt as an administrator and typing “chkdsk /f” followed by Enter. I was prompted to schedule the disk check on the next restart, which I confirmed. After restarting, the utility scanned and fixed any file system errors it found.
In cases where the above steps didn’t work, I also considered restoring the system to a previous state using System Restore. I accessed System Restore by typing “System Restore” in the search bar and selecting “Create a restore point.” In the System Properties window, I clicked the “System Restore” button and followed the prompts to choose a restore point from before the issue began. This process can revert system settings and configurations to a previous state, potentially resolving the error if it was caused by a recent change.
Lastly, if none of these solutions worked, I evaluated whether there might be a more complex underlying issue or hardware problem. At this point, I considered reaching out to Microsoft Support or a professional technician for further assistance.
Resolving the “Request Is Not Supported” error required a systematic approach. By updating my system, checking drivers, repairing disk integrity, addressing software conflicts, and exploring system restore options, I was able to troubleshoot and fix the issue. Through this process, I learned the importance of methodically diagnosing and addressing each potential cause of system errors.