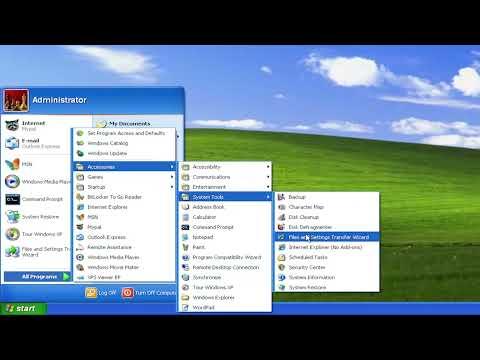
I recently found myself grappling with a sluggish Windows XP machine. It had become annoyingly slow, and every task felt like it took forever to complete. I knew it was time to tackle this problem, and after some research, I decided to use the built-in Disk Cleanup tool to hopefully speed things up. Here’s how I approached this task and what I learned along the way.First, I had to locate the Disk Cleanup utility. On Windows XP, this tool is fairly straightforward to access. I clicked on the “Start” menu, then went to “All Programs,” followed by “Accessories,” and then “System Tools.” Here, I found “Disk Cleanup.” It’s a simple tool, but don’t let its simplicity fool you; it can be quite effective.Upon launching Disk Cleanup, I was prompted to choose the drive I wanted to clean up. Since my primary concern was the C: drive where the operating system and most of my files are stored, I selected that one. I clicked “OK,” and the tool started calculating how much space I could potentially free up. This step took a few moments, and I watched as the progress bar slowly moved forward.Once the calculation was complete, I was presented with a list of file types that I could delete. These included temporary files, Internet cache files, and various system files. Each file type had a brief description and an indication of how much space could be reclaimed. I carefully reviewed each option.The first category was “Temporary Internet Files.” This included files stored by my web browser to speed up loading times for frequently visited websites. While these files can be useful, they also accumulate over time and can take up a significant amount of space. I decided to check this box.Next was “Temporary Files.” These are files that programs create while they are running but don’t always clean up afterward. Over time, they can pile up and waste disk space. Checking this box seemed like a no-brainer.Then came “Recycle Bin.” I had a habit of leaving items in the Recycle Bin instead of permanently deleting them. This option offered a straightforward way to clear out these files, so I ticked it as well.Another category was “System Error Memory Dump Files.” These files are created when the system crashes. They can be useful for troubleshooting, but if I wasn’t planning to delve into any system errors, I figured it was safe to delete these.There were also options for “Setup Log Files” and “Thumbnails.” Setup log files are records of software installations, which aren’t usually needed after the installation is complete. Thumbnails are small images created by the system to display previews of larger images. Both of these options seemed like good candidates for deletion.I made sure to review the amount of space that would be freed up for each type of file. The total amount of space I could potentially recover was quite impressive. I was hopeful that clearing out these files would indeed speed up my PC.After selecting the file types I wanted to delete, I clicked “OK” to proceed. A confirmation dialog appeared, asking if I was sure I wanted to delete these files. I confirmed my choice, and Disk Cleanup began its work. The process took some time, depending on the number of files and the size of each. I used this time to grab a coffee and take a short break.Once Disk Cleanup finished, I was impressed by how much space had been freed. The tool had successfully removed a significant number of files, and the available space on my hard drive had noticeably increased. I immediately noticed a difference in my PC’s performance. Programs launched faster, and the system seemed to be operating more smoothly.It was clear that Disk Cleanup had made a positive impact, but I wasn’t done yet. To ensure long-term performance improvement, I decided to complement Disk Cleanup with a few other maintenance tasks. I defragmented my hard drive using the built-in Disk Defragmenter tool. Fragmentation can cause a system to slow down because it has to work harder to access scattered pieces of files. By defragmenting the drive, I helped my PC access files more efficiently.I also took the opportunity to review and uninstall any unnecessary programs. Over time, I had accumulated software that I no longer used, and removing these programs helped free up even more space and reduce system clutter.Lastly, I checked for any available updates for Windows XP. While Windows XP is an older operating system, making sure it had the latest updates could help with performance and security.In conclusion, using the Disk Cleanup tool on Windows XP was an effective way to address the sluggishness of my PC. By removing temporary files, clearing out the Recycle Bin, and dealing with other unnecessary files, I managed to free up a significant amount of disk space. This, combined with additional maintenance tasks like defragmenting the drive and uninstalling unused programs, made a noticeable difference in my system’s performance. For anyone experiencing similar issues with their Windows XP machine, I highly recommend giving Disk Cleanup a try—it’s a simple yet powerful tool for improving your PC’s speed and efficiency.
Windows XP Disk Cleanup Use It To Speed Up Your PC [Tutorial]